Sculptfab: 3D Sculpting for 5th Graders
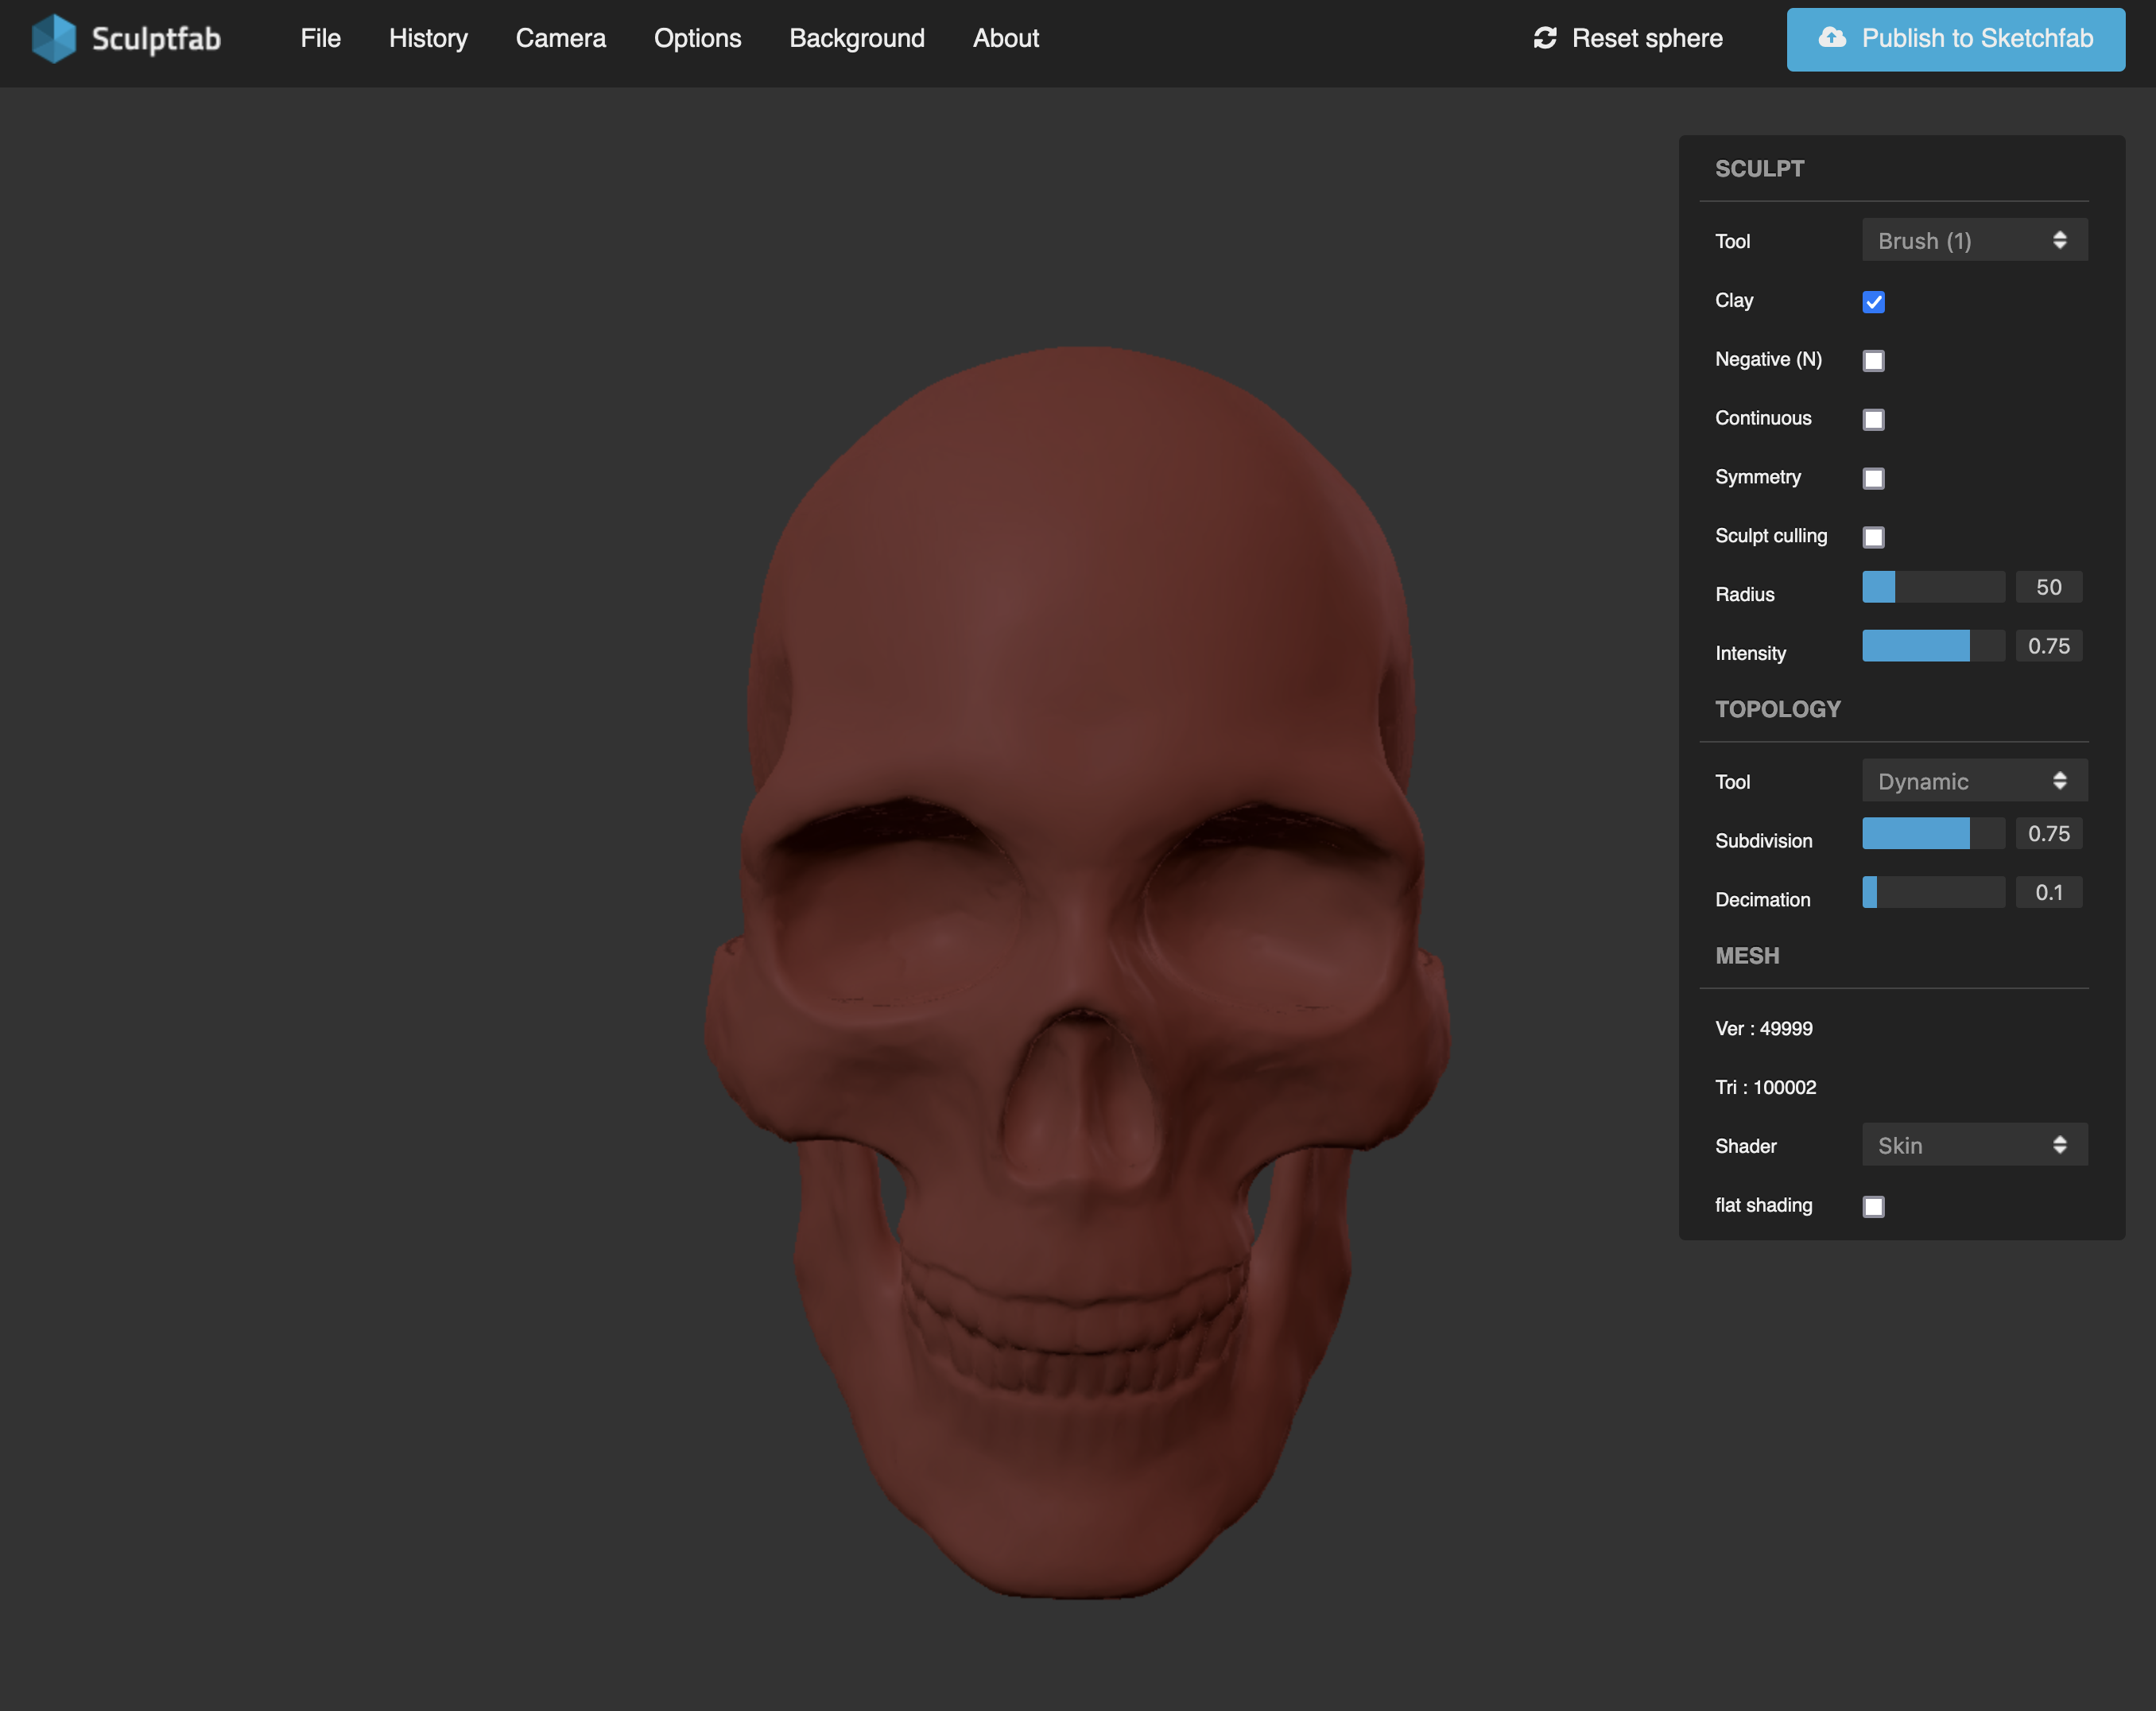
3D sculpting tools like the free Sculptfab or SculptGL make it quick and easy for students to see desirable results in their designs. Unlike other simple 3D design tools like Tinkercad, which uses parametric geometric primitives, sculpting tools offer intuitive controls that respond to direct clicks or finger taps, showing results immediately. It’s for this reason that I tend to start students with Sculptfab when they’re beginning to learn 3D design.

Sculpting Calaveras for Dia de los Muertos
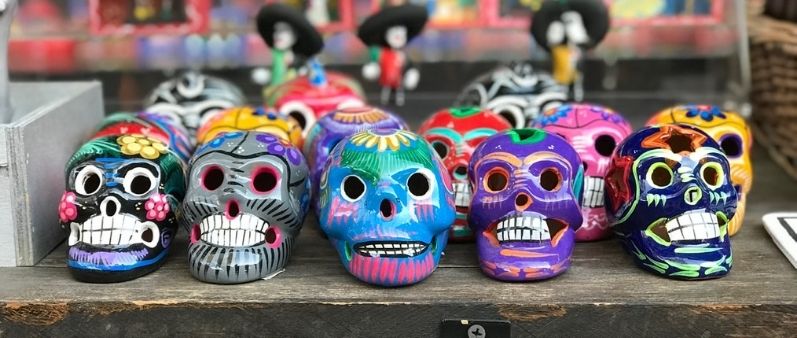
One of my colleagues, a fifth grade teacher, mentioned she was doing a couple of Dia de los Muertos lessons to tie into a novel the class was reading, and I jumped on this immediately since I was trying to build students’ interest in 3D printing. I suggested students could design and print calaveras—the colorfully decorated skulls that Central American cultures make out of sugar for Dia de los Muertos. My colleague put together a slideshow for students about the cultural significance of the day and the skulls, and I got busy figuring out how we would do the design and printing.
I’ve used Sculptfab and SculptGL in the past, and I decided to go with Sculptfab for this lesson since the file management is slightly easier in it, and students who had gotten accustomed to using Chromebooks with all their work automatically saved on Google Drive would need to manually download and then send me their files. (I cannot believe how hard it is to help children understand filesystems and file sharing.) Additionally, Sculptfab’s UI is just a little bit cleaner than SculptGL, and the simpler the better when introducing new tech skills like this to students.

With any lesson where I’m trying or creating a new product for the first time, I find it’s essential to go through the entire process myself. Packaged curriculum that has already been tested often needs this, and bespoke lessons even more so. By “debugging” a lesson, you inevitably discover things in practice that you can’t always anticipate when just thinking through a lesson:
- The skull model required modification to flatten a surface in order to be printable, and students would not be able to sculpt over this flattened surface
- The original poly count of the model made it difficult to work with, necessitating reducing it before distributing to students
- The skull model broke in certain areas while sculpting, and Sculptfab’s tools couldn’t easily fix that once it happened
- Certain keyboard shortcuts produce unexpected behavior in Sculptfab (looking at you Command + Z)
- The camera would be tricky for inexperienced students, and the camera reset menu item looked similar to the project reset menu item
Once I felt confident that students would be able to go home with a printed calavera, we started the first lesson. I’ve found that the best way to introduce a new tool is to go over only its most essential aspects—usually UI basics and file management—and then give students the time to experiment on their own. This means students who are ready to go don’t need to wait through endless directions, and students who aren’t sure can stay and ask questions. By keeping the time focused on me to a minimum, it also builds trust with students that if I am trying to get their attention during the lesson, it’s probably worth tuning in to hear what it’s about.
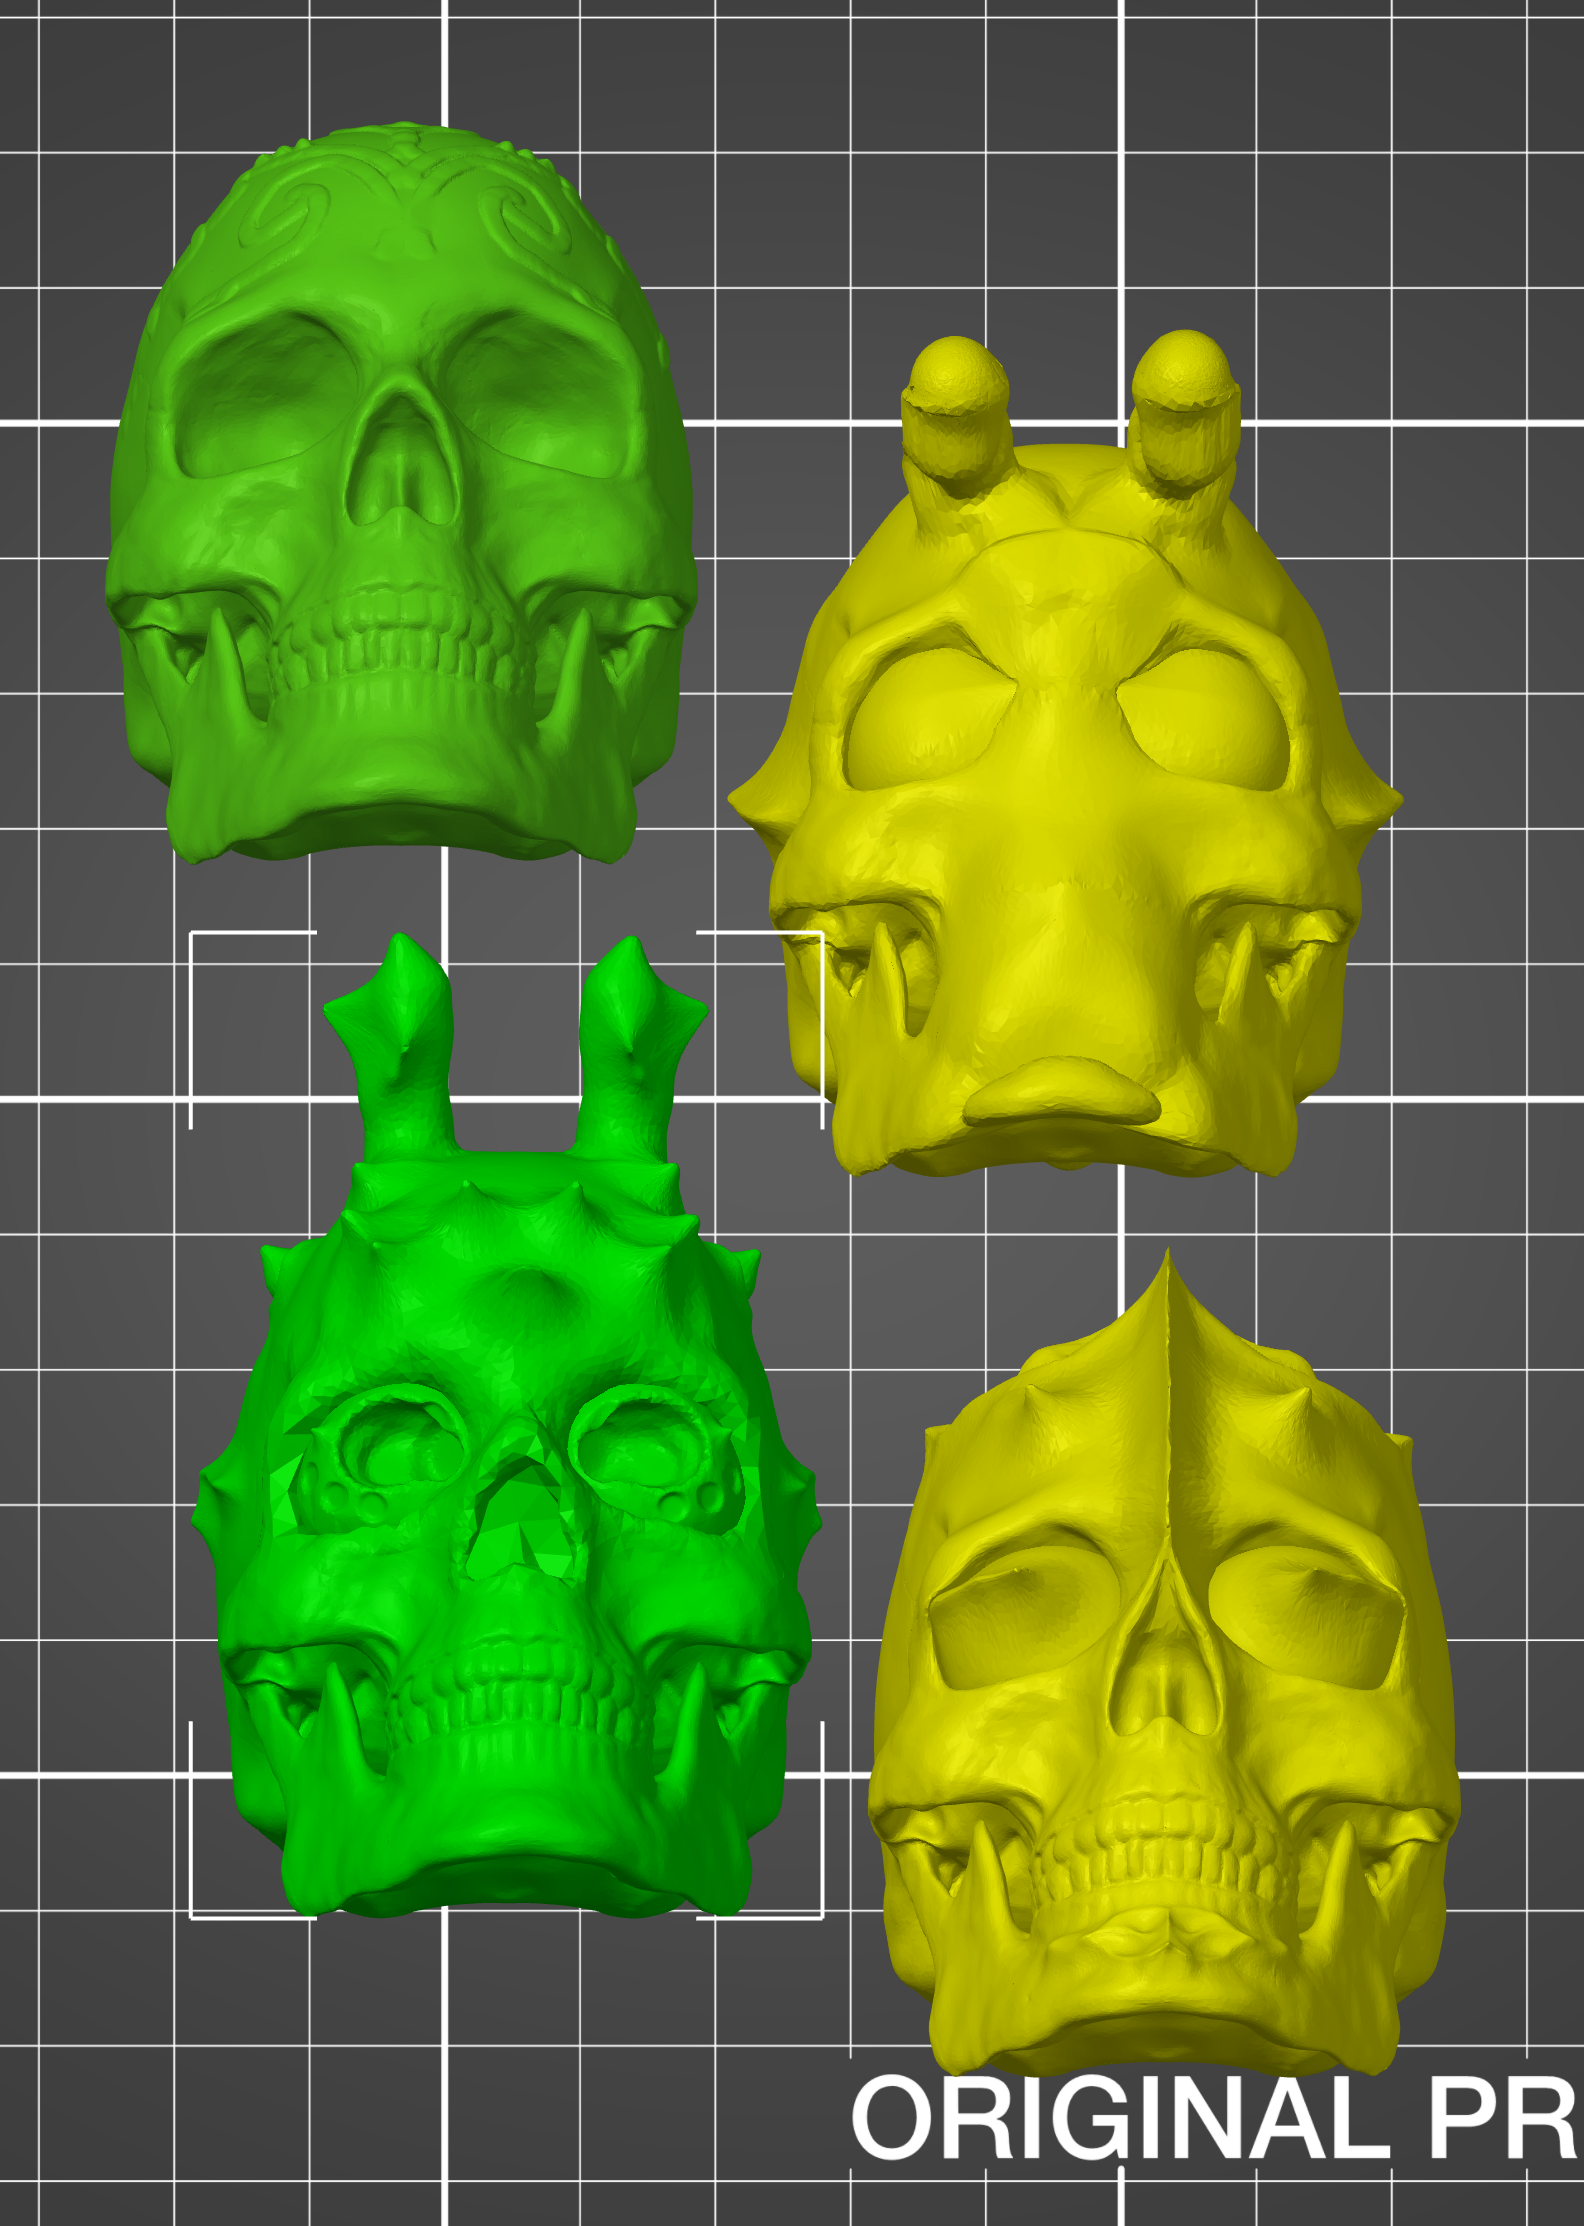
Since this was one of the first 3D design and printing lessons I had done with this particular students, I thought it was important to specify that a typical project could have more complex geometry, but for these, it was imoprtant not to have large protrusions from the skull. Some students insisted they wanted to try it, and I consider it a learning experience about what will and won’t print from a design, so I agreed to let them make what they wanted with the understanding it might not print correctly.

Students did well with Sculptfab, and in the end, everyone had a calavera printed. It’s really important that students have a good first impression of projects like these because if they walk away frustrated, they may never attempt it again. If they walk away with a printed object they’re mostly happy with, but feel like they have things they’d want to improve, that’s exactly how I want them to feel. There’s plenty more to learn, and they are capable of learning it and getting the results they want.
With the calaveras printed, students’ next step was to work with our art teacher to create a display for them, and to write a two sentence horror story to accompany them. I love how they turned out. The hallway display was beautiful, and it inspired other students who saw them to ask about how they could do 3D printing at school. Perfect!

Next Steps for Students After Sculpting?
While I ran this lesson with inexperienced fifth graders, I’ve found fourth grade to be about the right age to introduce students to more demanding and more capable design tools like Tinkercad if they have already had some experience with 3D sculpting. Any earlier can be tricky in part because of physical challenges—it’s harder for little hands to manipulate a mouse and keyboard together to orbit and rotate in 3D space—but also because they are intellectually developmentally at the right stage to learn the ins and outs of more complex softare and concepts of designing for additive manufacturing.